Saturday, June 28, 2014
Cricut® Artfully Sent
Here is a short clip of the new cartridge! I think it is going to be awesome!!! And you know that we will all be playing with it soon!!

Thursday, June 26, 2014
Wednesday, June 25, 2014
HEART TRIO
HEART TRIO CARD SET
Here is an adorable trio
of cards that I crafted for one of my clubs! The inspiration for this card set
came from Becca Whitham, who was the designer of the “love note” card. It was a
perfect fit for my Stamping 101 class! A great way to showcase the versatility
of your stamp sets!!
.JPG)
Once you are satisfied with your stamped design, cut into 3 pieces measuring 5 ¼ by 4.
To create the note paper, I used a piece of lined card stock along with the CM border maker system, and trimmed to 3”x 4”. I then inked around the edges and lightly inked the interior with buttercup ink. As an alternate method, you can use the CTMH Artbooking cartridge and stamp set to create this as well.
Add ribbon and adhere to card base. Adhere note paper to card. Stamp love in pear. Stamp note onto circle shape that was cut from Artbooking. Embellish!!
Don’t
forget to stamp something on your envelope....

To create
the love U card, begin by adhering a piece of pink chevron paper ¾” x 4 to
your stamped paper. Add the glitter strip, ¼” x 4”. Stamp love in cotton candy
ink along the top of the glitter strip. Add white ribbon. Adhere to card base
using pop dots/dimensionals. Cut capital U at 1 ¾ “ out of pink glitter paper
and adhere with pop dots/dimensionals.

To create
the final card, first cut the doily in half. Adhere to the stamped paper using
a piece of washi tape. Add white ribbon, then adhere to card base. Stamp
“smile” in pear onto circle piece cut using Artbooking. Ink around the edges.
Adhere with a pop dot. Stamp “just because” in pear onto a piece of white
card stock cut 3/4” x 4”, dove tail one end, ink edges and adhere using pop
dots. Adhere to card base and embellish with gems.
http://bonnietullo.ctmh.com
Supply list for this
project
Value pack cards/envelopes X254 $14.95 (set 50)
White daisy card stock 1385 $14.50 (24 sheets)
Pink glitter paper Z1922 $5.95
(3 sheets)
Cotton candy ink pad Z2193 $5.95
Pear ink pad Z2197 $5.95
Buttercup ink pad Z2110 $5.95 (retiring)
Sponge Z697 $1.25
Smoothie Stripe washi Z1923 $7.95
Skylark assortment Z3000 $5.95 (retiring)
Oodles of doodles
flair B1449 $9.95
Doodle signs A1158 hostess reward
Take note D1574 cricut bundle
White ribbon
Sparkle gems
Monday, June 16, 2014
Fourth of July Layout
Good afternoon Scrapbook Friends! I hope you are enjoying this beautiful day!!
I wanted to share a new layout with you that Celebrates the Fourth of July!


I wanted to share a new layout with you that Celebrates the Fourth of July!
This layout was created for the STAMPING 101 class that I am offering. You will create this adorable background paper using the June Stamp of the Month, along with 2 other surprise projects using this adorable stamp set! The cost for this class is $25/person. Gather a couple of friends (or have a private class) and contact me today to sign up for your Stamping 101 class!
Thursday, June 5, 2014
Spring Retreat Recap!!
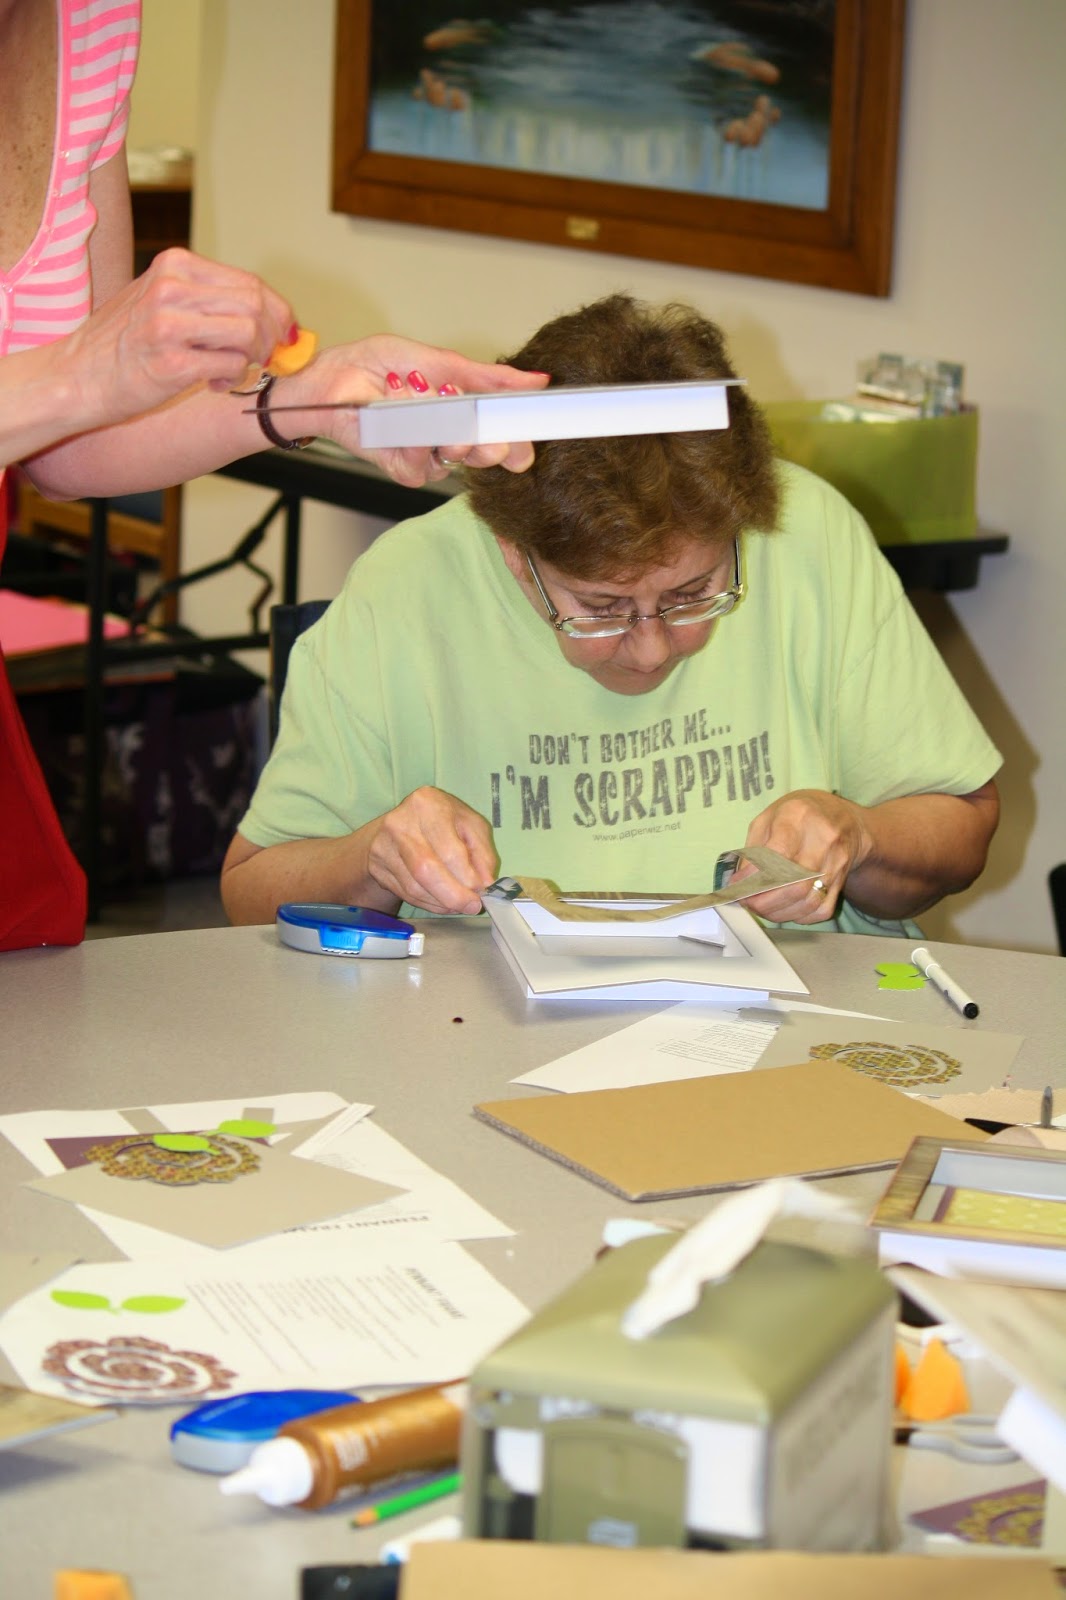
We had another wonderful retreat weekend at Sky Lake! As always, there was no shortage of laughter, creativity or inspiration! I feel incredibly blessed to have the opportunity to share these wonderful weekends with such amazing women! We certainly bring out the best in one another!!






 |
| Jewelry making was something new offered at this retreat! We used Close to my Heart Base & Bling products to create some beautiful pieces! And Carrie quilled a beautiful daisy for one of her pieces! Amazing!! |
 |
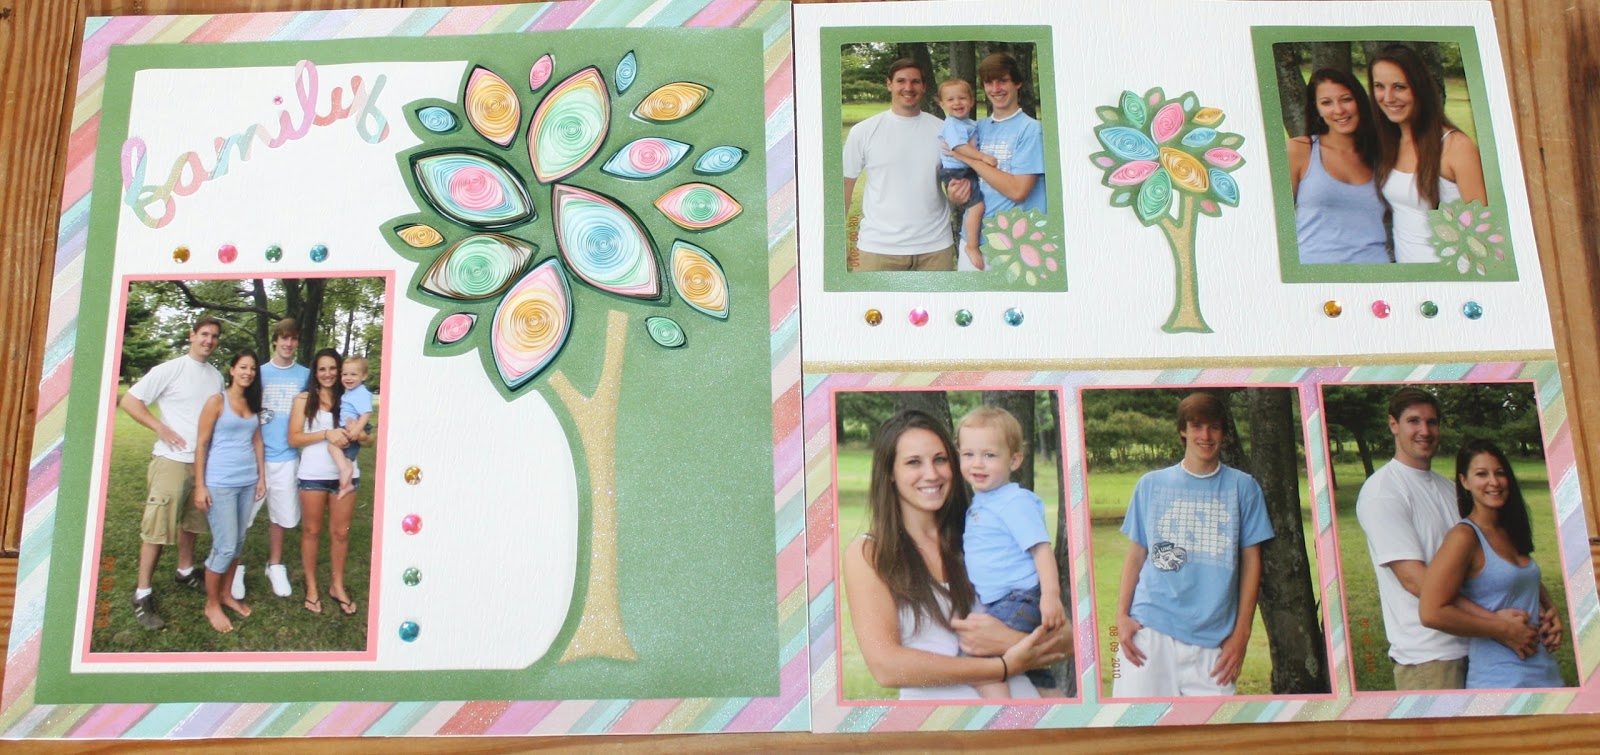
| These are a sampling of the wonderful artwork created throughout the weekend. So much talent gathered in one place!! |
 |
| I am looking forward to our Fall Retreat! It will be another wonderful weekend filled with inspiration, creativity and FRIENDSHIP! I hope you will join us!! |
Wednesday, June 4, 2014
Celebrate 30!
Visit my website, make a qualifying purchase and you can select one of these wonderful gift collections for only $30!! http://bonnietullo.ctmh.com
Wednesday, April 16, 2014
What's a Technique?
Tonight I was working on assembling the Lollydoodle Workshop on the Go when Zoe and Violet came into the "art room". Immediately, they ask if they can help. And of course, I said yes. I had already cut all my pieces and was preparing to distress and ink them. I asked if they would like to learn a new technique. "What's a technique, gramma?" I explained that a technique is a different way of doing something. Or, in this case it is doing something to make our paper look different.
First, let me teach you how to distress the paper. Using this little sanding block, gently rub along the edges of the paper. It will take the color off the paper and leave a white, worn and faded edge.
.JPG)


Now, lets ink the edges of some of our pieces. this will make them "pop" off of our page a bit. Dab your sponge onto the ink pad and gently brush the edge of your paper with the inked sponge. See how it adds just a touch of ink along the edge? Pretty, right?


Now we are ready to adhere our pieces to the page and create our layout. Add a bit of adhesive to your piece. Be careful not to go off the edges. You don't need a lot of tape, just a bit on each corner and then gently place and rub it into place.


Finally, add the stamped images and a few embellishments and viola! We have a beautiful layout ready for our pictures!

Scrapbooking is fun! It is documenting life's most treasured memories into beautiful albums that will be shared with family and friends for years to come. When you have the opportunity to teach and share this gift of lasting love with someone you love, it is just amazing!
I encourage you to make some new memories while sharing your passion with someone you love today!!
First, let me teach you how to distress the paper. Using this little sanding block, gently rub along the edges of the paper. It will take the color off the paper and leave a white, worn and faded edge.
Now, lets ink the edges of some of our pieces. this will make them "pop" off of our page a bit. Dab your sponge onto the ink pad and gently brush the edge of your paper with the inked sponge. See how it adds just a touch of ink along the edge? Pretty, right?
Now we are ready to adhere our pieces to the page and create our layout. Add a bit of adhesive to your piece. Be careful not to go off the edges. You don't need a lot of tape, just a bit on each corner and then gently place and rub it into place.
Finally, add the stamped images and a few embellishments and viola! We have a beautiful layout ready for our pictures!
Scrapbooking is fun! It is documenting life's most treasured memories into beautiful albums that will be shared with family and friends for years to come. When you have the opportunity to teach and share this gift of lasting love with someone you love, it is just amazing!
I encourage you to make some new memories while sharing your passion with someone you love today!!
Subscribe to:
Posts (Atom)